Friday, 19 October 2012

Bored of apple crumble...?

I've said it before and I'll say it agin, I love a good pudding! Now that we are very much into winter (although we have been there most of summer anyway), and the days are getting colder and shorter and the nights darker, a pudding becomes a necessity in my opinion! In some cases, if not most, the traditional puds are the best, the crumbles and the treacle tarts, the syrup sponges and the hot chocolate fudge cakes. A good pudding with custard is one of the perks of this horrifically cold weather, along with snuggly jumpers and faux fur scarves! 

But what happens when you get fed up of the same old puddings? What about when the stodge and the custard has just got a bit too much? Well, if you're anything like me (which I don't think anyone is because I am rather oddly unique!) you go looking for something new to try. This post is just that, a new pudding, or if you rather, a dessert. It uses apples, a good winter standby, and brioche, which makes it much lighter than many traditional hot desserts, and comes with a not-too-sweet caramel sauce. It is quick to make and really doesn't take much effort, but produces a beautiful warming finish to any meal at the end of a long, cold day.
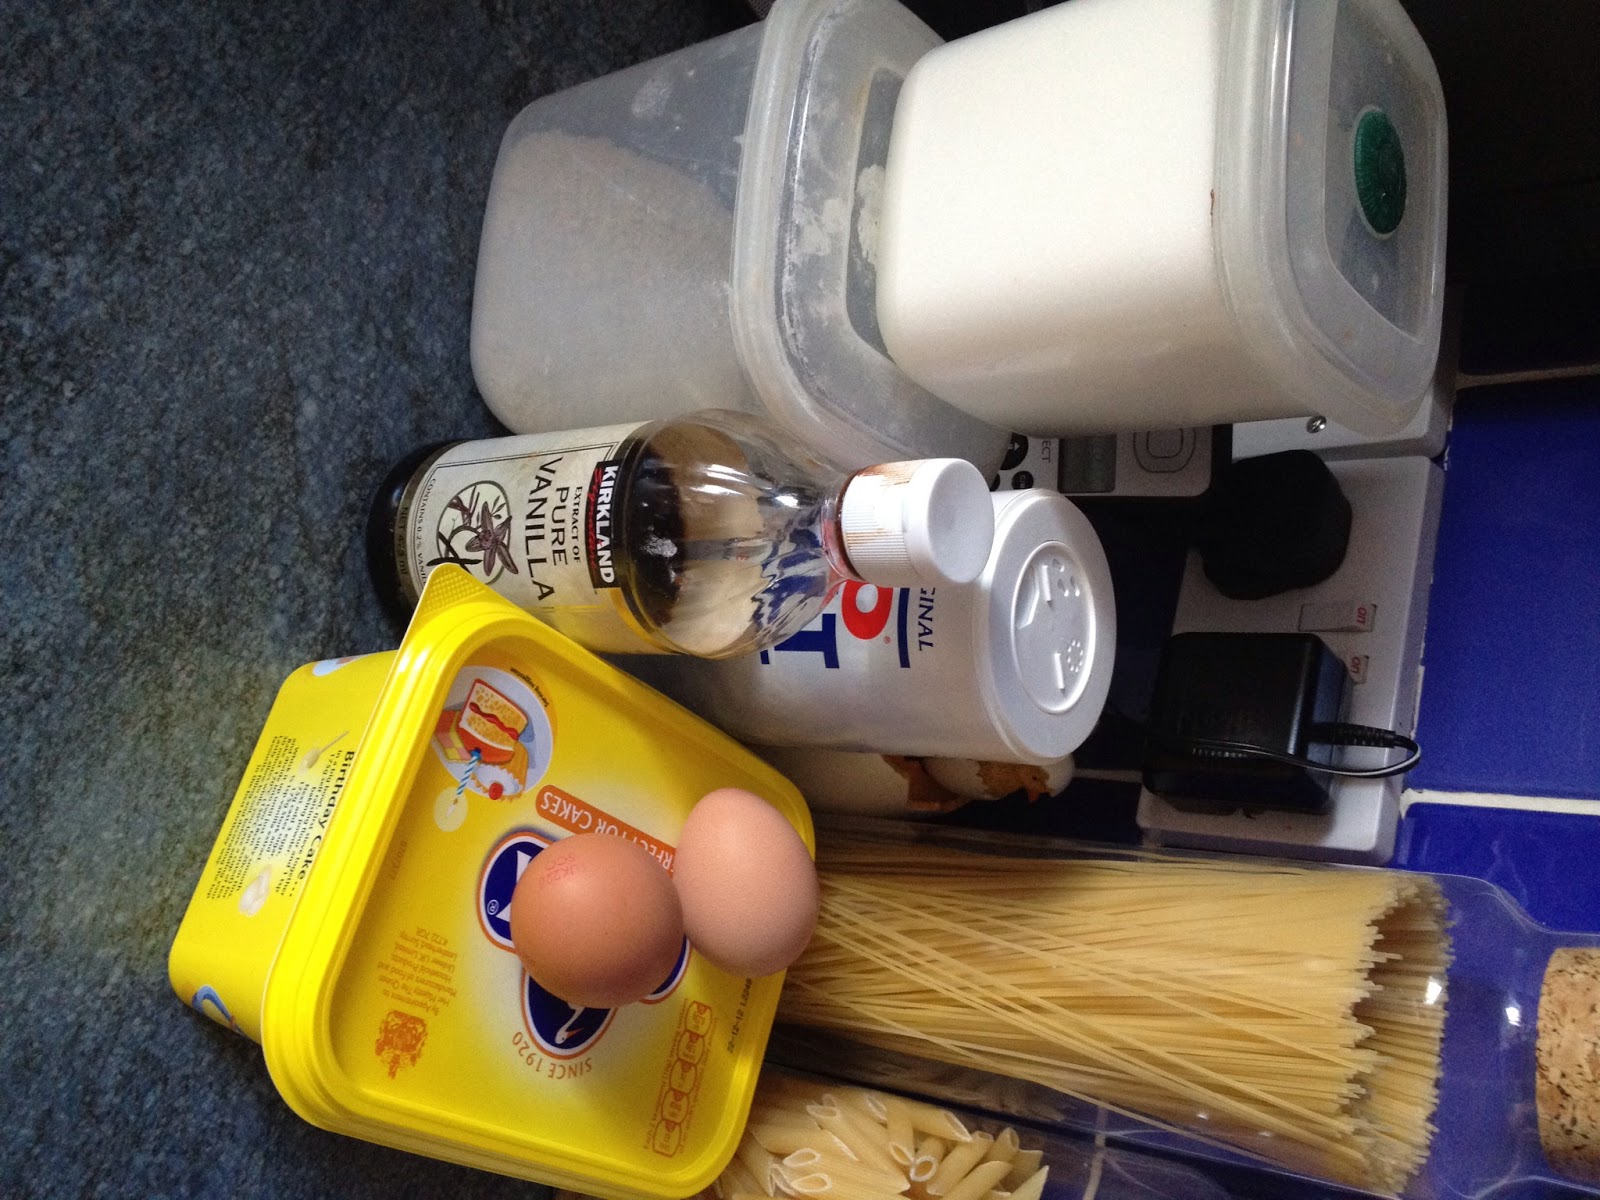

The Ingredients
Dessert apples (such as braeburns or similar - I used Jazz apples simply because that is what we always have in), slices of brioche, brown sugar, butter, cinnamon, pecans, and apple juice.

You need a slice of brioche and an apple per person. Start by chopping the apples into wedges and removing the core, but do not peel them.
In a frying pan, on a medium heat, melt the butter.
To the butter add the brown sugar and cinnamon, and stir in.
When it has become a slightly thicker consistency, add the apple wedges to the pan, and gently move them round to coat them in the caramel sauce.
Leave on the heat and stir occasionally, but keep an eye on them. The sauce thickens considerably and starts to bubble, but don't let it burn.
While the apples are cooking, chop or break up the pecan nuts into smaller pieces ready to add to the apple and caramel at the end.
Also toast your brioche so it is nicely done on each side. Make sure you don't burn it - burnt brioche will completely overwhelm the rest of the flavours in the dessert!
As I previously stated, you need apple juice for this recipe, but you can also add some form of alcohol if you wish. I chose amaretto because it is by far my favourite alcoholic drink, but rum would work well also. Using alcohol is completely optional, if you don't want to just replace the 2 tbsp of alcohol with extra apple juice.
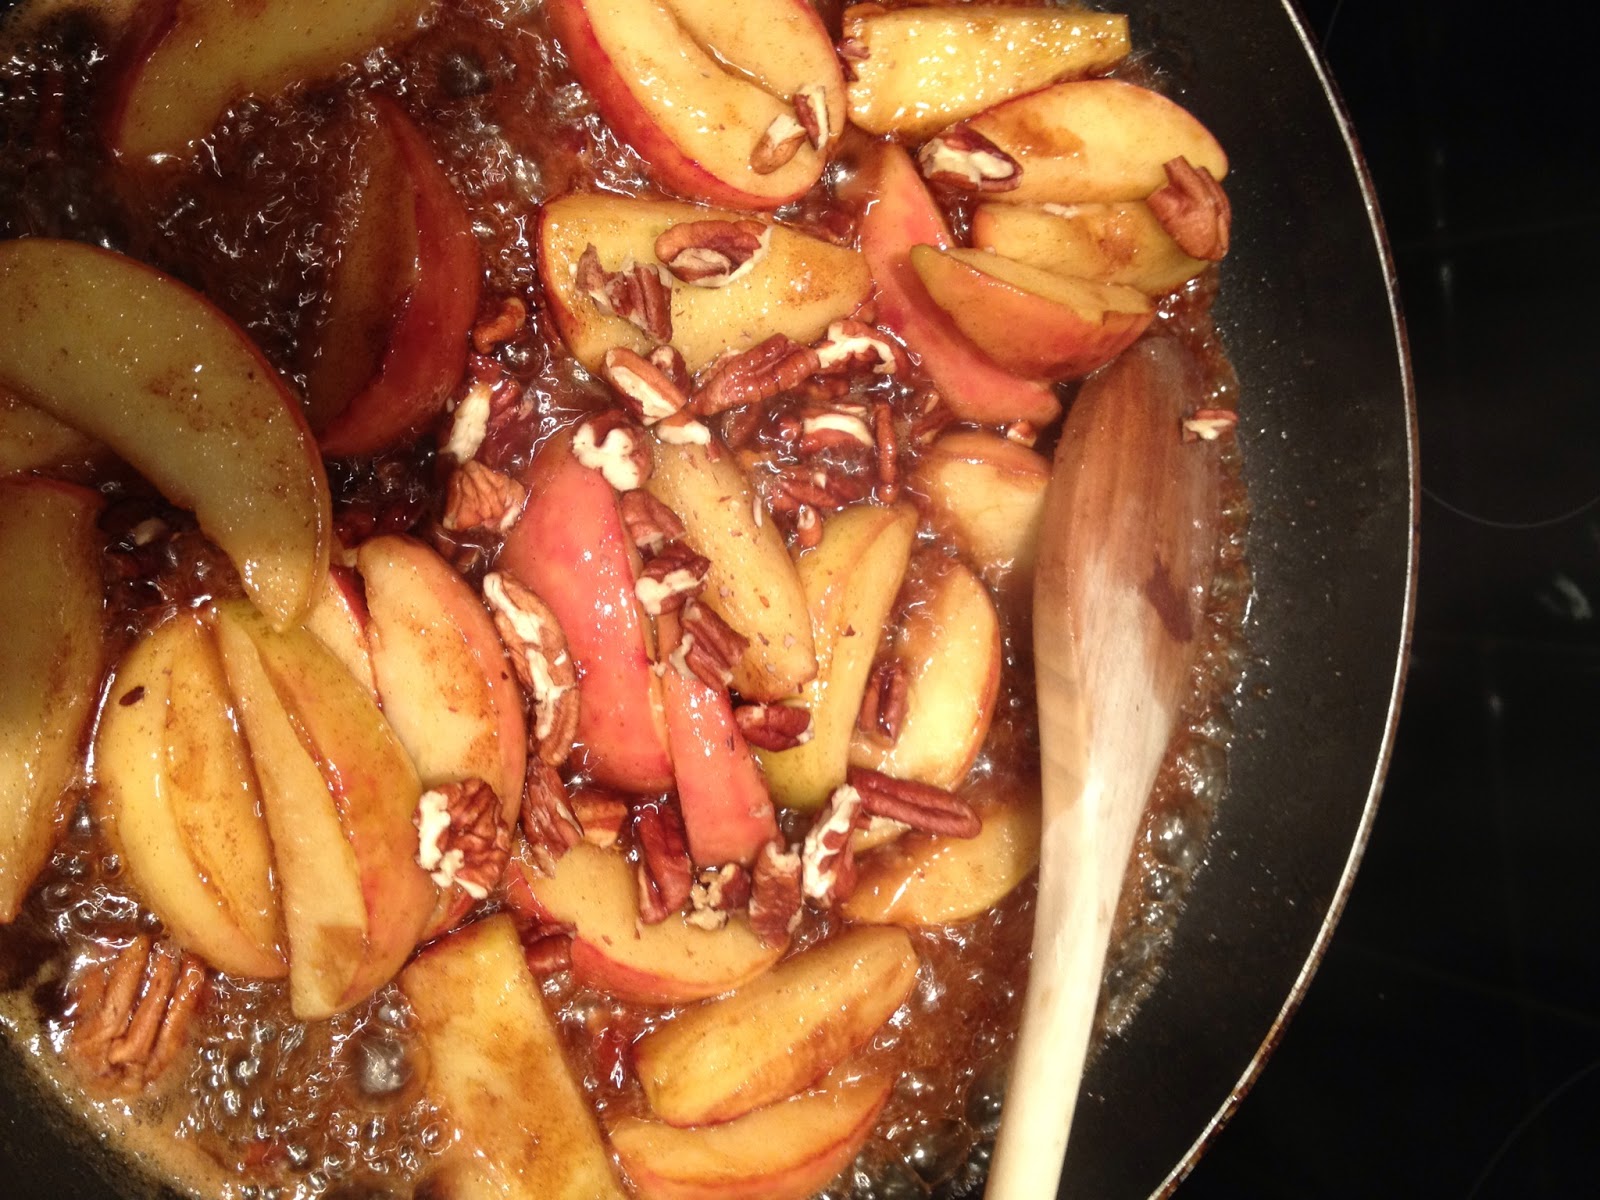
Add the apple juice and alcohol, if using it, and stir through, and then add the pecans, and stir again. Leave on the heat for a further minute or two, make sure the apples wedges are nicely coated, and then serve.
Spoon the caramel apple mixture onto the toasted brioche in equal amounts, and enjoy!
The apples retain a slight crispness on the outside but then melt in your mouth when you bite into them, while the caramel sauce isn't overly sweet because of the addition of the apple juice (and the alcohol). The pecans provide a crunch, and the brioche soaks up the sauce and complements the apple perfectly. 

So if an apple crumble doesn't make your mouth water, why not try using apples for something a bit different! Trust me, its worth trying something new, after all, the old favourites will still be there when you want something a bit more traditional again.

Bye for now!

Kate
xxx

mmm...xocolata!

This post is a little bit different to the others I've written, but I thought it would be quite fun to change it up a little bit! Take a break from a baking post!

I was away in Barcelona for a few days last week and so I thought I would report back on my trip. Now I've never been a massive fan of Spanish food, mainly because my only residing memory of said food was from a trip to Lanzarote when I was about 10 or 12, which, needless to say wasn't particularly good! Other memories of that holiday include very smelly camels, a pretty bad apartment block, trekking down streets in the boiling hot sun trying to find the best price on a game boy and Pokemon game, and my brother burning the soles of his feet at a water park! A memorable holiday all round! My point is, that I wasn't particularly excited to go to Spain! However, going back at the age of 22 with much more refined taste buds (and a much more open mind!) I have to admit I was a serious fan of the food, which ranged from traditional tapas to burgers to Syrian (my personal favourite!). I intended to take photos of all the lovely food I but that didn't happen! It all looked far too good I suppose and I ate it before I had a chance to remember to take a photo! 

You might therefore be wondering what this post is about! 

Well, while in Barcelona, my mother and I went to the Museu de la Xocolata - I can't lie, I love chocolate, always have, most likely always will! Bit of a problem I suppose but one I can live with! Now I am sorry to the people of Barcelona, but their museum isn't a patch on Cadbury World, but, what I did love were all the sculptures that had been made out of chocolate! Now these I took plenty of pictures of, and I want to share them with you in this post! I apologise in advance for the quality of some of the pictures but the sculptures were all behind glass so some reflection couldn't be avoided!

Our tickets were bars of chocolate! Love it!
White chocolate Gorilla - picture taken just for my brother really who has always had a thing about monkeys...
One of many Asterix and Obelix sculptures.
Tom and Jerry - avid Barcelona supporters don't you know!


Another Asterix and Obelix sculpture - I just liked the hair and the small dog!

Bull fighters - obviously, we were in Spain!

Gaudi's famous Lizard statue recreated in chocolate.

Love Tintin!
Spongebob and Patrick
Quite possibly my favourite one, the house from 'Up'.
Some more Tintin
Bambi; no other explanation needed!
Giant Mini Mouse
The Barcelona Skyline - also one of my favourites.
A copy of a streetlamp from La Ramla, the main street in Barcelona - I just loved the delicacy and intricacy of it.
Smurf!
The Sagrada Familia - almost as impressive as the real thing!
Chicken Little
George and the Dragon
Love the detail of the slain dragon - especially the tongue sticking out!
And finally, a chocolate bear that looks really rather realistic!

So there you go, a selection of photographs of the awesome chocolate sculptures from Barcelona's chocolate museum. If you're ever in Barcelona go and take a look for yourself because there are many more than this (some of my photos were just too awful to use!) and they are well worth seeing in the flesh because they really are very impressive. The people that made them all have genuine skills!

Hope you've enjoyed this post and haven't minded a break from the norm! My next posts will be back to recipes as alas there is still no more news on the business :( keeping my fingers crossed that something will happen soon!

Bye for now!

Kate
xxx

Tuesday, 2 October 2012

Happy Days

I have never kept my obsession with shoes a secret from anyone - I was introduced to someone at a party once as 'the one with all the shoes'! I own over one hundred pairs and I just can't help buying more! Quite simply, I love shoes! However, I have another obsession, and this one, very few people know about.

I am obsessed with Lakeland - as I would imagine many keen bakers are - in a serious way; I am not able to go into the shop without buying something. I refer to Lakeland as the shop that sells items you never knew you needed until you buy them and then don't know how you ever managed without them! So many of the things I use when I bake have come from Lakeland, and so when I saw the item I used for the edible delight written about in this post, I couldn't resist!

As you might know from reading previous posts, or from twitter and facebook, there has been bad news in the Delicious Decadence camp. However, after a prolonged stint of tears and anger, I have decided that I will not be beaten! Therefore, this post is one of smiley faces - quite literally...

Smiley face biscuit cutters from Lakeland! How could anyone resist, let alone someone with an obsession as awful as mine!

The biscuits themselves are fairly unimportant in the grand scheme of things - I just needed a uncomplicated recipe that would work to make these adorable sandwiches - and so it is a simple recipe of butter, caster sugar, vanilla extract, eggs, salt, and plain flour.

 Cream together the butter and sugar, then add the eggs and vanilla extract and beat together well. Then stir in the flour and a pinch of salt with a wooden spoon, to form a soft dough.
 It is advisable to put the dough into the fridge for abut 30 minutes before using. I didn't do this because I was trying to save time and later wished I had! The dough is extremely soft and needs time to firm up. When it is firmer, it is simply a case of rolling it out on a well floured surface and cutting out the shapes! Obviously you can use this dough with any cutters and just make plain biscuits.
 Bake in the oven (180 degrees centigrade) for about 8-10 minutes, keeping a really careful eye on them so they aren't over done.  They should be a nice golden colour when ready.
 I am happy to admit that some of the biscuits didn't turn out perfectly, as you might be able to tell from the picture above, and this was down to me not chilling the dough and it being far too soft for the first batch of biscuits.
 With the ones that turned out perfectly (the majority did!) I chose to sandwich them together with some seedless raspberry jam and vanilla butter cream.

Aren't they just the cutest things?! 

I am blaming Lakeland for my ever decreasing bank balance! They keep producing items that I simply have to own! Always handy at christmas though! 

But, even if you don't have these biscuit cutters, you should still spend some time making homemade biscuits with any cutters you do have. It is rather a fun way to spend a day! Plus, you get to eat them afterwards!

Kate
xxx