Friday 28 September 2012

Chocolate Post #3

So I thought there might be some really good news to report in this post, but unfortunately that is not the case. In fact there is only bad news :( massive set back has occurred! I received the sort of news that makes you want to curl up in bed with lots of chocolate! So at least the chocolate post is appropriate!

Who doesn't love cupcakes? A light fluffy cake topped with smooth creamy frosting - why wouldn't you love it?! So, if you haven't already guessed, this chocolate post is for chocolate cupcakes, with vanilla frosting. (Just as an aside, I am not trying to take credit for this recipe, it was taken from a recipe book! I am just giving my version of a good recipe!)


The Ingredients:
 Dark chocolate, butter, brown sugar, eggs, milk, vanilla extract, bicarbonate of sugar, baking powder, salt, and plain flour.

First off, melt the chocolate in the microwave - slowly so as not to burn it. The set aside.
 In a bowl, cream together the butter and sugar until it is smooth and pale.
 Separate the eggs and in another bowl, beat the egg yolks for several minutes, then add to the creamed mixture and mix thoroughly.
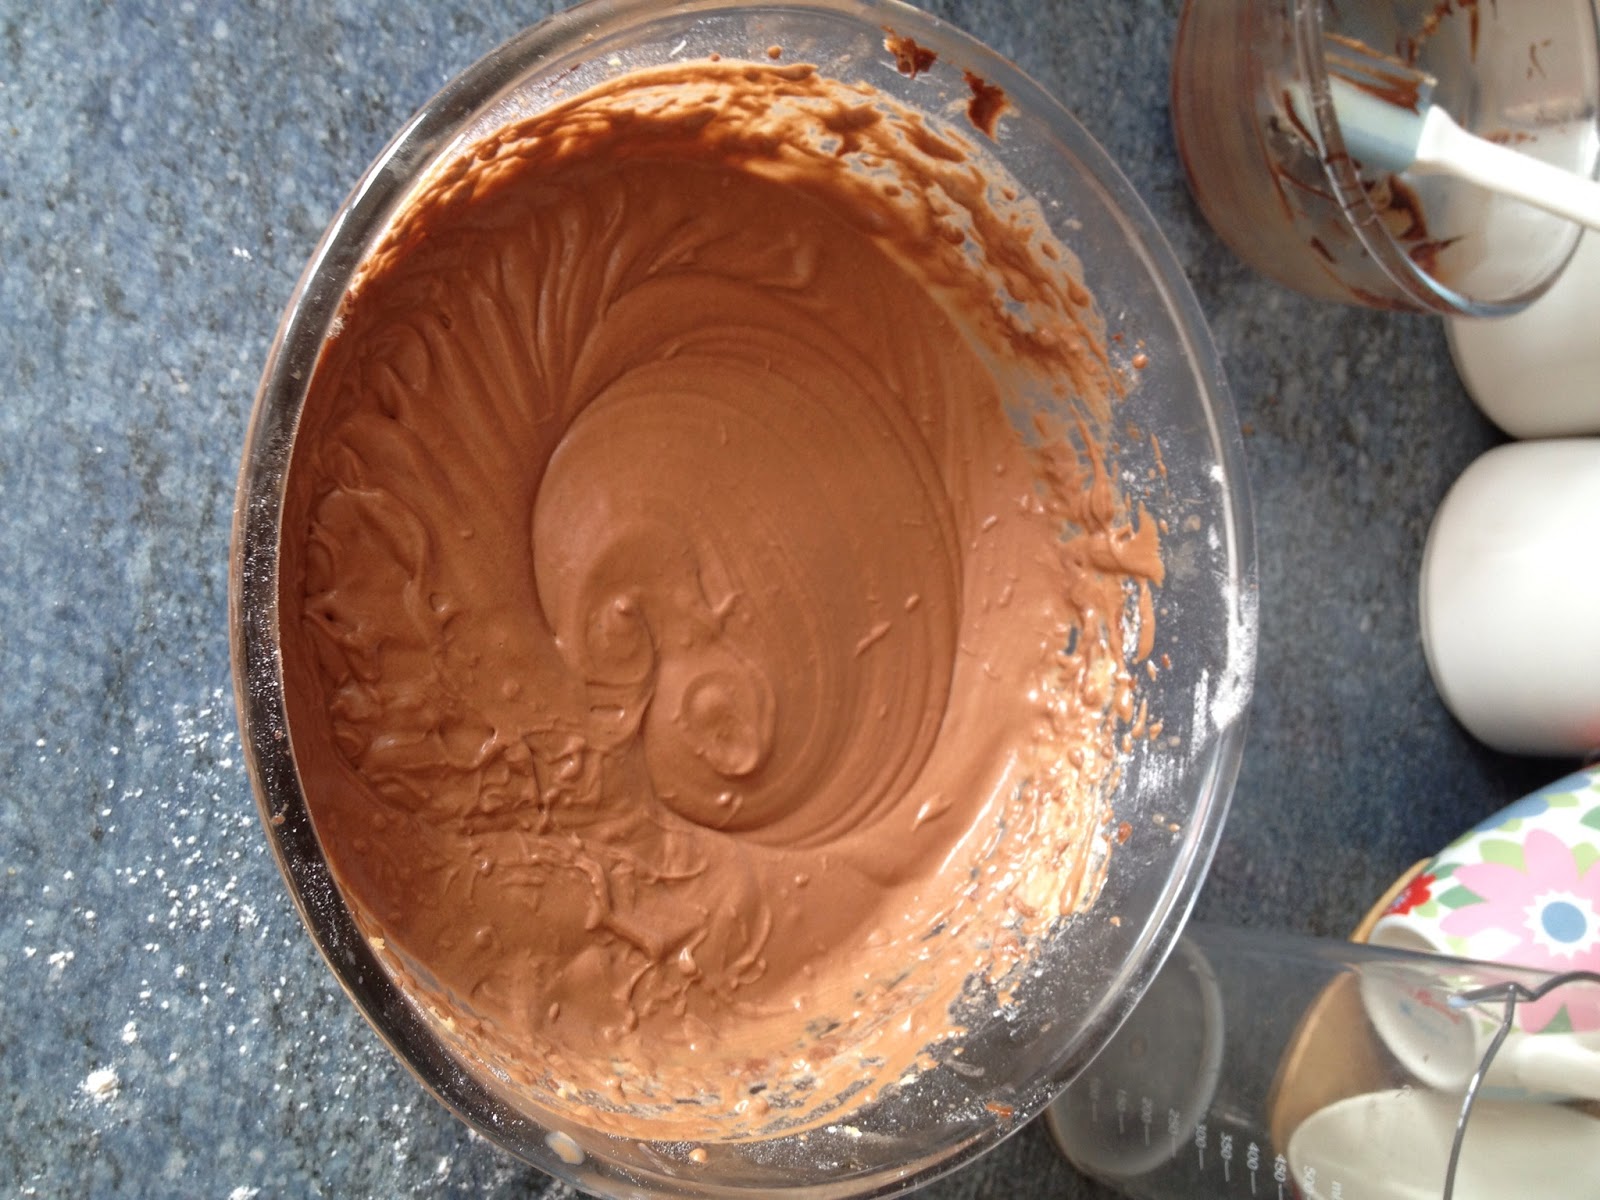
 Pour the slightly cooled chocolate into the rest of the mixture and mix well.
 In a jug, measure out the milk and add to it the vanilla extract. In another bowl, mix the flour, bicarbonate of soda, baking powder, and salt.
 Add a third of the flour mixture to the chocolate mixture.
 Then add a third of the milk mixture.
 Carry on alternately adding the flour and the milk mixtures until they are all combined.
 In yet another bowl (!) whisk the egg whites until they form soft peaks.
 With a metal spoon, add the egg whites to the main mixture and very carefully fold in.
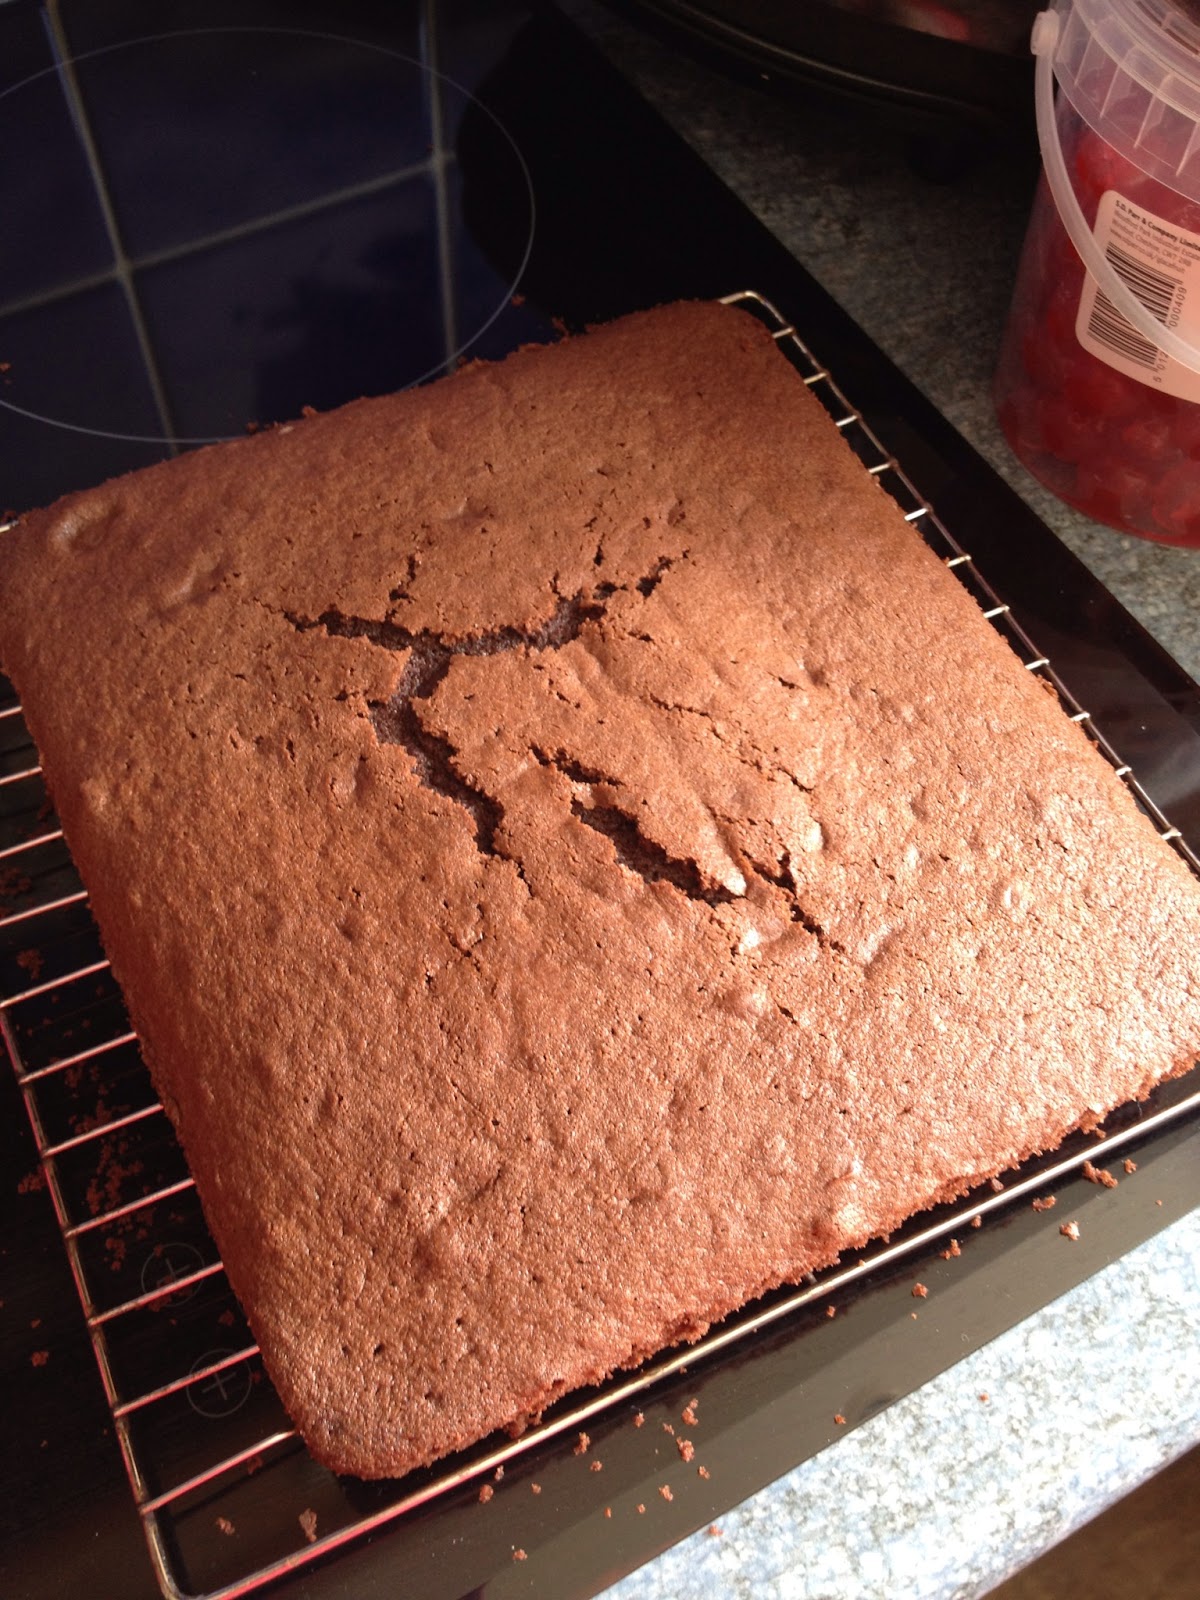
 Spoon the mixture into cupcake cases so that they are about two thirds full and then place in the oven to cook for 20-25 minutes.
 Take out of the oven and leave to cool on a wire rack. 
 When they are completely cold, the frosting can be made up (butter, icing sugar, milk, vanilla extract) and put on the cakes. Finish with a decoration of your choice.

Beautiful! 
Enjoy!

Kate
xxx

Thursday 27 September 2012

Chocolate Post #2

The second of my chocolate posts is for a chocolate cake with chocolate frosting.


As you will know if you have read my 'about me' section, or simply if you know me, I am a member of the Women's Institute. For my birthday, mother Appleby found me a WI cookbook, which includes recipes for vintage tea parties and older recipes taken from WI cookbooks from WIs all over the country. This chocolate cake was originally in the 1969 Northumberland Federation cookbook, and as my WI is within the Northumberland Federation it made sense to try making it. I am really rather glad I did because it is absolutely gorgeous! It is a beautiful, light, chocolate sponge topped with silky chocolate icing that simply melts in your mouth.

The Ingredients:

 Butter, caster sugar, eggs, cocoa powder, boiling water, baking powder, vanilla extract, and plain flour.

First, put the cocoa powder into a large mug or small bowl, and add to it the boiling water. 
 Mix into a thick paste and then set aside to cool slightly.
 In a large bowl cream together the butter and caster sugar until pale and creamy, and then add the vanilla extract and then the eggs one at a time.
 Next add the flour and baking powder, and mix thoroughly. 
To this mixture add the chocolate paste and mix everything together.
 Spoon the mixture into a rectangular tin (silicone once again! Obviously if it isn't silicone it needs to be greased and/or lined) and smooth the top with the back of a spoon to try and get as even a surface as possible.
 Bake in the oven for 25-30 minutes, until well risen. Let the cake stand in the tin for about 10 minutes and then turn out and leave to cool on a wire rack until it is completely cold and therefore ready for icing.
 For the icing, melt dark chocolate in the microwave and then stir into it solid butter so that it melts, and then double cream. The icing should be smooth and glossy.
 Spread the icing over the top of the cake straight away - it might seem really runny but it won't run off the sides of the cake so just go for it!
 Finish the cake with a decoration of your choice. The first time I made it I used pink pearly decorations...
 ...and the second time (made specially for a WI meeting) I topped the cake with milk, dark, and white chocolate stars and hearts!

This cake truly is beautiful - it pleased the ladies of Otterburn WI so it must be good!

Just as a tip, I keep the cake in the fridge because of the double cream in the icing. 

Kate
xxx

Wednesday 26 September 2012

What a tart!

I actually wrote this post on my phone whilst sat in my brother's flat in London on a very wet and cold Sunday but I am only just getting round to finishing it and putting it up. It was my first time in London in over a year, which is a bit strange as normally I would have been down far more regularly. Me and my mum went to see Top Hat (I am a huge fan of musicals) and it was fabulous! I am a huge fan of the actor Tom Chambers who plays the leading role, which was the main reason for wanting to see it! I saw him in White Christmas on Christmas Eve two years ago and was lucky enough to meet him afterwards and he is a lovely guy! Spent about 15-20 minutes chatting to him! Anyway, this story has nothing to do with the post but thought I'd tell it anyway, it links to being in London! While in London we went to Wahaca, which was absolutely amazing! I have some random food allergies so I thought it might be a problem but it wasn't at all. Everyone should go because the food is gorgeous and so different and original to anything else out there - it is just a shame there are no restaurants outside of London!

Anyway, this post features a bacon and cheese tart I made a few weeks ago. I've been building up my savoury repertoire because I will be serving savoury things as well as sweet when I finally open the doors of Delicious Decadence! It went down well in the Appleby household, which normally means it isn't too shabby! The mother has even asked me to make it again!


The first thing to do is to make your pastry. Now I was one of those people that was scared of pastry up until the WI (once again!) came to the rescue. I now have a pastry recipe I use for everything and it couldn't be simpler to make and use. All you need is plain flour and margarine (not butter!) and a small amount of water, 40ml to be precise. You mix everything up together and there you have it. No fuss and no mess! What's more, this pastry can be kneaded and played around with as much as you like, it won't spoil! Plus there is no need to grease the tin you use because it will not stick! You can't get much better than that!

So, make up your pastry, roll it out on a lightly floured surface, and line a good sized loose bottom flan dish. Add baking parchment and baking beads to the pastry case and blind bake in the oven for 20 minutes. Then remove the beans and parchment and return to the oven for a further 5 minutes. Remove from the oven and set aside while you make the filling.

The Ingredients for the filling: streaky bacon, cheddar cheese, onion, eggs, milk, butter (melted), and black pepper.

Start by frying your bacon until it is nice and crisp. As I have said before, I always use my George Forman for this sort of thing. Once it is crisp, break it up into medium size pieces and set aside.
In a bowl, beat the eggs, milk, and melted butter together and season with black pepper.
Fry the onion in a large frying pan until soft and slightly browned.
Put the bacon pieces and onion into the pastry case and then cover with the cheese.
Pour the eggy mixture over the top and place in the oven to bake for 40 minutes, until it is set and golden brown.

And there you have it. 
Enjoy hot or cold as a summer salad or a wintery treat with baked beans! Perfect!

Kate
xxx

p.s. If you are enjoying the blog why not let me know about it by commenting on one of my posts or following me on twitter where I am happy to chat. I welcome feedback so let me know what you think!

Tuesday 18 September 2012

Custard isn't just to put on your pudding!

I am quite a fan of a good pudding with lots of custard -  I don't think anything can beat it on a cold night! So, when I found the recipe for these little custard biscuits, made simply with custard powder, I couldn't resist making them! They are sweet and crumbly, and because they are so small you don't have to feel bad about having more than one! And trust me, you'll want more than one!


The Ingredients:
Butter, icing sugar, plain flour, vanilla extract, and custard powder.

Put the butter (softened), icing sugar and vanilla extract into a bowl and cream together.
Add the flour and custard powder and mix well.
Put the mixture into a piping bag with a large star nozzle. (I love this contraption! It holds the piping bag so that the mixture can easily be spooned in. One of the best things I've ever got from Lakeland!) 
Pipe the mixture in small amounts onto a lined baking tray, leaving a decent amount of space between each biscuit.
Add sprinkles (or any form of decoration, maybe sugar flowers) to the biscuit dough before baking and then place in the oven.
And there you have it. I made these with red, white, and blue sprinkles because I was feeling all patriotic! Enjoy with a cup of tea to be suitably British!

Kate
xxx